Friday, November 2, 2012

Cheese Danish Pull-Apart Coffee Cake (With a Cheat...Shh!)


Anyone who knows me knows I am a big fan of making as much of a meal as possible from scratch. Especially if it is a money saver. Time doesn't bother me, but I like to penny pinch where I can. However, this recipe doesn't cost much, its quick, easy, and cures a craving for cheese danish that I get on occasion...(And essentially for anything else cheesy...I love cheese.)
There are three components to this danish:

The Cake/Danish
The Filling
The Topping

The hardest part of this recipe? Um...uh...I dunno. I guess maybe not eating the filling before its on the cake? Haha.

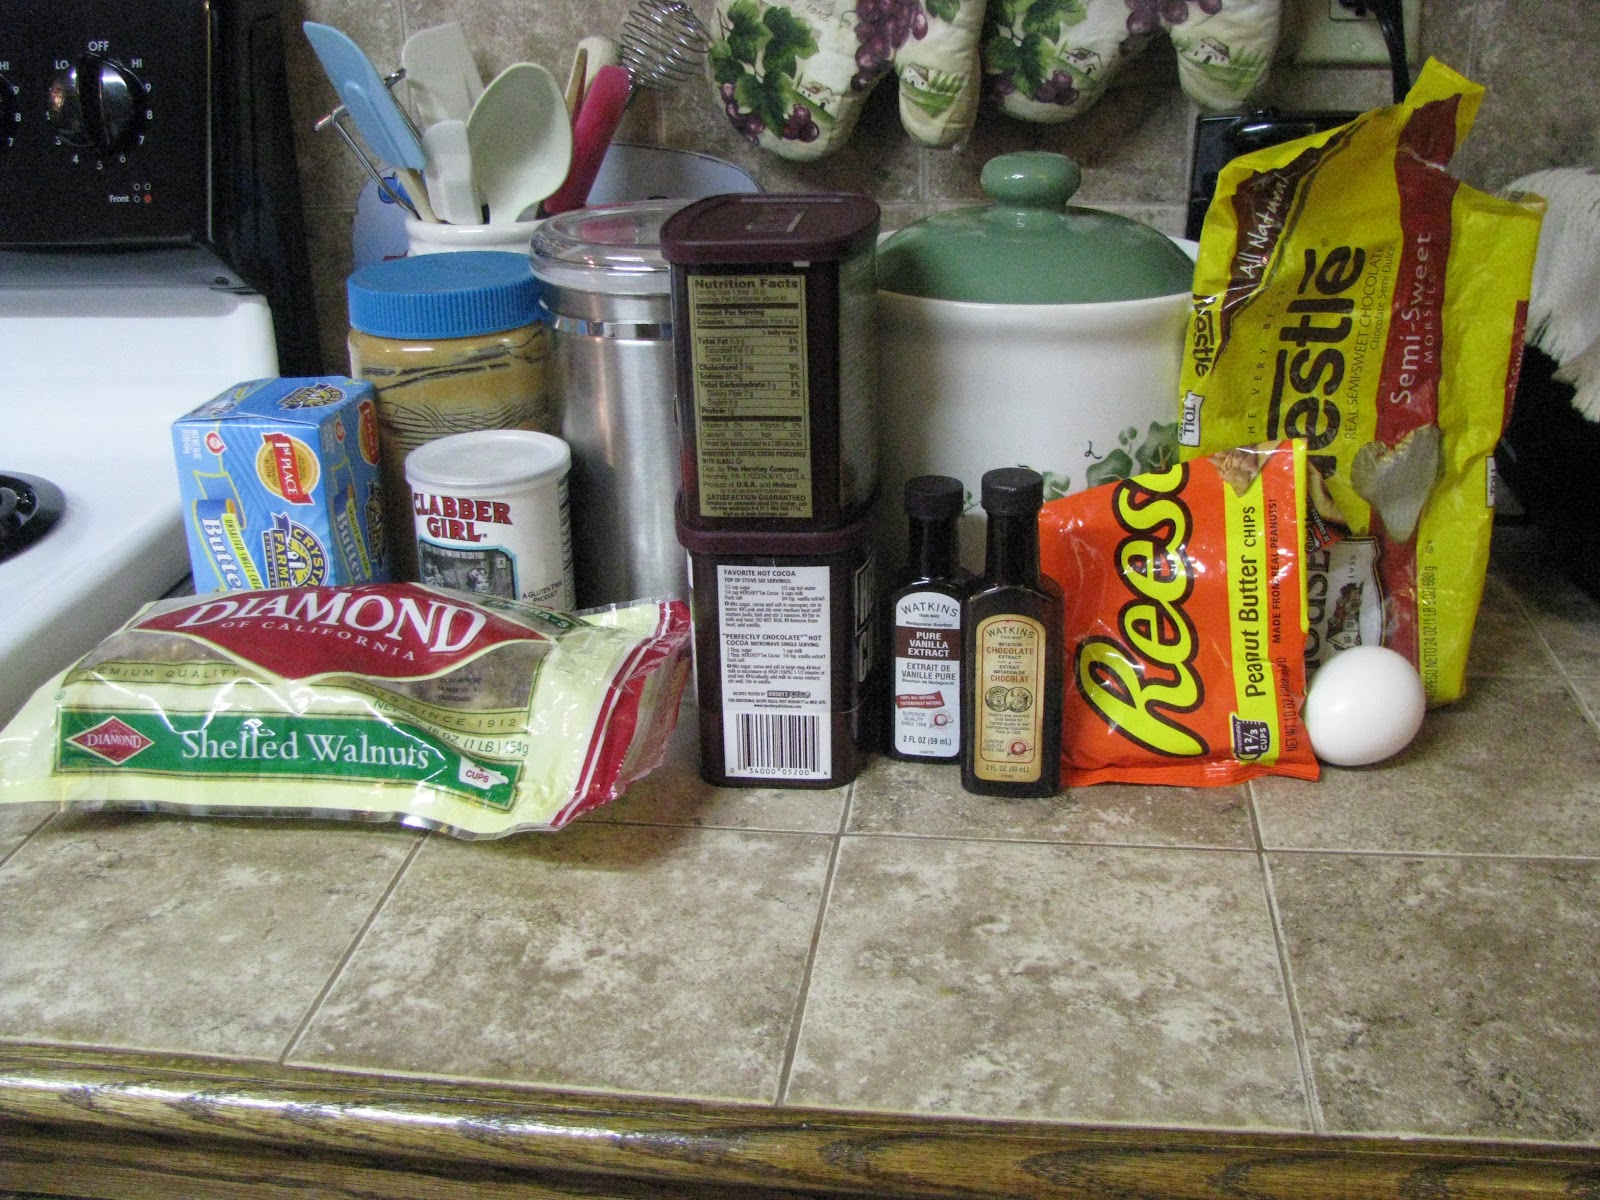
Here is what you will need:

-2 Cans of Biscuits  (I use the Grands Flaky Layers Honey Butter)
-1/2 Cup Granulated Sugar (Plus some to spread on parchment paper)
-1 tsp. Vanilla Extract
-1 Egg Yolk
-1 oz Package of Cream Cheese
-1/2 to 1 Cup Powdered Sugar
-1 Tbsp. Sour Cream
-1 to 2 Tbsp. Cold Milk

Preheat your oven to 350 degrees. Butter a 9x13 inch glass pan. Or spray it with Pam, if that will somehow fool you into thinking you made this healthier. ;)
While your oven preheats, put your room-temperate cream cheese in a bowl. Mash it a little with a fork, then take your egg yolk and vanilla, and mix them in until its nice and smooth. Add in your 1/2 cup of granulated sugar and work it into a nice smooth consistency. Now, for health reasons, you shouldn't consume raw egg products, yadda yadda. However, this stuff is good and I'll be darned if I didn't lick the spoon when I was done.
Set your filling aside, and spread out a piece of parchment paper on the counter. sprinkle it lightly with granulated sugar, and one biscuit at a time, mush the biscuits into flatter round circles, getting each side lightly dusted in the sugar. Now, how you choose to roll or place these back into the pan is really up to you, but for me, I turn them into little roses. I fold the circles in half, and then I roll them and leave a small well in the middle to fill with extra filling!
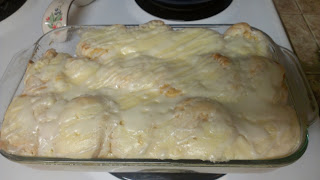
I line the sugar-coated biscuit-roses in the pan, close together so that when they cook they grow together and form a semi-solid mass. I take a large spoon and the filling I made, and I pour it over them, taking care to put a little down in the well I made in the center of each.
Bake these in your 350 degree oven for around 45-55 minutes. Check in between to make sure they're doing okay, but to cook the centers, it takes a long time.
While you have these in the oven, you make your topping. Take the tablespoon of sour cream, start with half cup of powdered sugar and 1 tablespoon of milk. Mix it until its a drizzle consistency, adding more sugar or milk as needed! :)
When they come out of the oven, let them cool 20 minutes, then drizzle with topping and enjoy! :) These are very tasty heated up for breakfast with coffee and they pull apart in a nice, small serving.
(As usual, I am having trouble getting blogger to let me do photos properly. Sorry. -_-)


Monday, October 1, 2012

Goulash. This Girl's Official Comfort Food.

Everyone has that food that makes them think of home. It fills your senses, brings back memories, and puts you in a happy place. For me, that food is goulash. For those who aren't sure what I am talking about, let me start off by saying I am not at all talking about Hungarian goulash. I am talking about the American version. You Yankee readers from up north of the Mason-Dixon line, I've heard refer to it as "American chop suey." Please stop trying to fancy up what us Southerner's have been doing just fine all along. ;)
The dish I am talking about is easy and comforting, warm, filling and delicious. It takes few ingredients, and can be made in a hurry -or- to let flavors meld and build, the sauce can be kept on a low simmer or in a slow cooker all day.
You will need:
1 lb. Ground Beef (Leaner is always better!)
1 box of Pasta (we always use sea-shell pasta)
1 can of Diced or Stewed Tomatoes (I love the fire-roasted ones)
1 can of Dark Red Kidney Beans (mmm...I love beans)
1 Onion (as almost always, I use a sweet vidalia onion)
4 Tbsp Butter/Margarine
3 Tbsp flour
1 Beef Bullion Cube (crushed)
Chilli Powder
Paprika
Salt
Pepper (Unless you have parents like mine who don't like it, so leave it out.)

Get a nice big pot of water boiling and start your pasta to cooking while you're making the sauce.
Start off with the butter and onion in a pan. Saute until translucent. Next, dump in that crushed beef bullion cube and follow with the ground beef. Cook until it has just browned, then throw in your flour and mix well. The ground beef and onions in the flour should have soaked up the majority of liquid and oil left in the pan. Now, add in your tomatoes and mix well. Let it cook a couple minutes, then add in your beans.  Follow your beans with your spices. I add quite a bit of paprika to my goulash, but as with most spices, I really think its a "to taste" sort of thing. Where as for my parents, a shake or two would be sufficient, for me, I need much more. I love the smoky flavor that paprika adds to food. And chilli powder is a must. If I were to estimate, I'd say 2 tsp of chilli powder, 1 Tbsp paprika for my Goulash. Add salt and pepper to taste as well.
Drain your pasta, then coat it well in the sauce you've made. Traditionally, in my family, you eat this with buttered saltine crackers.
If you've never had it, its something easy and delicious that I highly recommend. :)


Friday, September 14, 2012

Of Love, Olive Oil, and Feta...


I've been in a fabulous mood lately. My demeanor has clearly been changed, days are flying by again. Its great. And of course, my being in a great mood can only mean one thing: I'm headed to the kitchen to cook.
After repeated discussions of salads, olive oils, and then briefly mentioning feta cheese, I began to crave a pasta salad I make. For me, this would be more than enough for a meal, BUT I know my parents. Salad for dinner isn't really dinner. Something needs to be combined, so for this evening we're going to have pasta salad and steak flat bread sandwiches. Normally, these would be steak pita sandwiches, but alas, I live in a tiny town presently and when I asked for pitas I was met with the response: "Do you mean pizzas?"
After a blank stare and a forced smile I said "No, but thank you" and quickly shuffled away, eye twitching and all.
Anyway, the meat for the sandwiches is simple enough. I marinate it in balsamic vinegar, worchestershire, olive oil, salt, (normally pepper, but as Mom is allergic, I add this later to mine,) a little garlic, onion, and little rosemary (which I grind to a powder with my spice grinder.) Marinate the meat in this for at least 4 hours, but 24 hours is ideal.
I also make a sauce for the sandwiches. it is comprised of Greek yogurt, cucumber (peeled, seeded and minced,) red onion (minced as well,) celery seed, sea salt, (pepper again, if I can,) garlic powder, and paprika. I mix it up and let it sit in the fridge so the flavors come together.
Now for the fun part. The pasta salad. This make a nice large bowl full, its delicious, and its super easy. Below is what you will need.


-1 Container of Grape Tomatoes
-6 oz of Crumbled Feta Cheese
-1 Can of Artichoke Hearts, quartered
-1 Can of Chick Peas
-1 Jar of Sliced Kalamata Olives
-1/2 cup of Chopped Red Onion
-2 Bell peppers, preferably yellow, orange or red
-1 12 oz box of dry tri-color rotini, boiled and cooled
-1 bottle of Greek Vinaigrette
I really feel like I can't begin to explain enough just how easy this is to make. Pre-boil the pasta and let it cool while you do everything else. I cheated this time and bought the package of pre-chopped onions mostly because I only needed enough for tonight and it was right by where I was walking. Clean all the raw vegetable (minus these precut ones. they're already good to go.) The tomatoes are good to go, so go ahead and toss them and about half a cup of your onions into your large bowl.
Next, grab a colander and dump your artichokes, chickpeas and olives into it. Let them drain. Meanwhile, take your bell peppers and chop them.

For those who don't know, the easiest way to deseed a bell pepper is to cut the top off and then pull it off, which brings the seed membrane out. You can then shake the seeds that may have fallen into the pepper out into the garbage and discard the top... 

Or if you have a pepper-eating fiend for a dog like I do, you can just use her as your pepper disposal. ;)
Once the everything is chopped and drained, mix all the ingredients in your large bowl. Pour the entire bottle of vinaigrette over it, mix well, and refrigerate before serving. :)
(Sorry for lack of photos with this post. Blogger and I aren't getting along today.)


Saturday, August 11, 2012

Care to have some Morphine with your Eggs?

So for those who don't know, I had a tonsillectomy on Wednesday. Whee! How exciting. (Not. At all. Seriously, this crap hurts.) I am very tired and in a lot of pain and can't eat yummy or exciting foods SO I did quick cooking project the last day I could eat food and decided to save the post for sometime after surgery. Today is that day! Bear with me, as I am still a little fuzzy here.

Scrambled eggs. I think they're probably the first thing most kids learn to cook. They're easy. You can't really mess up a one-ingredient dish. I remember trying to make them by myself at three while everyone in the house slept. Other than the butt-whooping  I got, I did everything fairly correct. Well, that and turning the heat too high. But I digress! The point I am trying to make here is that today, I still love to make breakfast. 

Eggs are one of those foods that when you see them, you think "breakfast."  I do a lot of baking, so for me, I think "cookies," but most people think "breakfast" and stare picturing their favorite kinds of eggs. Sunny side up, over easy, scrambled, poached, boiled or... the omelette.  Omelette's can be simply or complicated, puffy and thick, or thin and silky, filled or have the incredients mixed into the eggs themselves. They can be fried entirely, or baked partially. The kind I tend to make are a thinner, French-style, trifold omelette fried on a griddle and filled. I love to saute onions and tomatoes to toss in, but this morning I went super simple and classic and went for a plain cheese omelette.


Let's start with ingredients. As you can see on the left, not much is required. Good quality eggs, whole milk, half and half, or a splash of whipping cream, butter or margarine, cheese (or whatever filling you want), salt and pepper to taste and a drop of vanilla.
I know the vanilla is going to throw some people off, but trust me, it will NOT make the eggs sweet. There is no sugar in them, so instead its simply a perfume to the dish. One of those things you put in that people taste and say "Hmm. What is that? I can taste something, but I can't tell what it is." Its a tip I learned from one of my big brothers and its truly helped.


Whisk three eggs very well, then mix in your dairy product of choice. Add in the drop or two of vanilla, salt and pepper. Turn your pan onto a medium-low heat and let a pat of butter/margarine melt in the bottom of the pan. Pour the mix into the pan and try to evenly coat the pan. Slowly, it will cook. When most of the liquid-egg is gone, you can add the cheese. This is a slower cooking omelette, but its worth the wait and worth not risking e-Coli.
Lay the fillings you have chosen down the center  in a line, but leave about a half inch to an inch on either end of the line so that your fillings don't ooze or fall out of your omelette.
As a side note, if you choose to put veggies such as mushrooms, tomatoes, peppers or onions in your omelette, this type of omelette needs to have those things cooked before hand, as one the filling goes in there is minimal cook time left.


If you choose to use a cheese filling like me, I left the cheese rest on top of the eggs for about 30 seconds to one minute before I begin to fold my omelette. Then, when ready, I place my spatula under 1/3 of the omelette and flip that 1/3 up and over the filling in the center. Any uncooked egg-liquid will begin cooking from the inside out thanks to the heat from the omelette wrapping up in itself. Next is the hard part, and if you do not have one large or wide spatula, it is completely ok to use two. Lift the middle filled part of the omelette and flip it onto that final third to close the omelette.

Finally, I let it rest there, if I am feeling brave, I might flip it to get a light color on the top, but usually at this point anyone near me is ready to eat and beginning to twitch from having to wait for me to finish, so I slide it off and onto a plate, toss a couple of pieces of toast down with it, and boom! Done. :)


Saturday, August 4, 2012

A Baker's Two Dozen.

When I have an order for my little hobby business, I tend to make a little extra for whomever is around. Besides, it gives me a chance to test out new ideas.
This go around, I submitted the option of either one dozen cookies or one pan of brownies to the winner of an auction on my friend Sam's rustic home decor business page. The winner of the auction chose to have a pan of my fudgy-style brownies with walnuts. Since I'd been wanting to try a new method of making my chocolate peanut butter brownies, I broke out two pans and doubled my recipe.

For any baking, I'm a big fan of using real butter if I can, but -especially- for cookies and brownies. Butter does something for these two items that margarine just can't do. Sorry. I will, of course, make any substitutions a patron may ask for, but I prefer they let me do my thing and just trust me that it will be work it. When I start these brownies, I take my room temperature butter and cream it. Then, I mix in vanilla extract and one my secrets, Watkin's Chocolate Extract. Once the extracts and butter are mixed, comes the sugar which also gets creamed in. When you cream in the sugar, FYI, the consistency is going to end up looking like wet sand. Don't worry, once the eggs are in, it gets wet again!


Once the wet mix is ready, in go the dry ingredients. Flour, baking powder and salt, of course, but then comes the cocoa powder. I use two types of cocoa powder. A normal run of the mill unsweetened cocoa, but also a dutch processed cocoa powder. The latter is darker, richer, and adds a depth of chocolaty flavor that you just don't get from the other. :)


The final step, is to bake them. Brownies are finicky. You'd figure with all the mixes they have for brownies that they'd be simple, but truthfully, they aren't. That's one reason why for a long time I didn't sell them (and another reason why I dread it when someone orders them.)  They can come out too dry or too wet soooo easily that sometimes it just isn't worth the hassle. Admittedly, though, they're my favorite to bake. This batch is a walnut batch, but in the picture you'll notice one row of lighter brownies with chips on top. These were my experimental row. They have a layer of PB brownie on top of the fudgy brownie and peanut butter chips on top! Mmm. 
So now I've got my shipment plus a dozen!


Thursday, July 19, 2012

Chicken Soup for...Well, for Me.

I've been a whole new level of sick lately. Its been over two weeks now, and I'm waiting on a referral to the ENT for some stuff. Anyway, I decided this was a good excuse to make some chicken noodle soup. Now, admittedly, I normally would make homemade noodles and chop  celery and carrots and onion and go through the whole ordeal, but: I'm barely putting out enough energy to crochet for more than twenty minutes at a time SO I took a few shortcuts.
To start: I like to make my meat-centered soups in the slow-cooker. Slow cookers are much better at breaking down the meat while keeping in the juices and not letting it dry out. It also lets me throw in my ingredients and walk away when I'm busy or sick.


I set the slow-cooker to the "Low" setting, and let it start to warm up. Meanwhile, I take half of a large sweet onion (Vidalia are my favorite) and I mince it. I toss it into a pan with a couple of pats of butter and start to saute them. In with the onions while they saute, I toss in my seasonings. Sage, thyme, rosemary, salt, pepper, 4 crushed chicken bouillon cubes, a pinch of garlic powder and a little celery seed. (NOT celery salt.) Once my onions are translucent and my spices are fragrant, I toss the mix into my slow cooker. I also add in one can of cream of chicken soup and the remainder of the stick of butter.


I don't personally like to use too much white meat in soups and dumplings. White meat can be dry or tough, even in the slow cooker, not to mention the fats/skins/bones of the dark meat add more flavor to the soup, SO I mix white and dark.  This time, I had a package of chicken thighs and a very large chicken breast. Four thighs, and one breast the size of two is plenty of chicken for the soup. And as a sidenote: Chicken thighs are super easy to bone and skin, so never pay the extra cost for boneless skinless unless they are just really on sale.


 Now all I do is let that mix slow cook for about 2-3 hours. The chicken will be cooked by then and you can remove it with tongs. Let it cook for a few minutes on a plate, then debone it and shred or cut it up. It should fall off the bone and break up easily. I like to leave the tiny pieces of skin in, but if you don't want them, toss the skin with the bones. Mix the chicken and all the juices off the plate back into the mixture in your slow-cooker. I then cheated and added in a can of carrots and a bag of flat, wide, egg noodles and mixed it up. I was a little woozy at this point, so no picture, but instead, here is a picture of my adorably concerned dog taking care of me while I am sick!

 Let the noodles soak up the broth for 30 minutes (I let mine go an hour because I like squishy noodles) and then enjoy. :) It hit the spot and took little to no effort and minimal clean up.


Monday, July 16, 2012

Ni Hao


My grandma in Virginia has a beautiful home with a huge yard, and a section of that yard is sectioned off into a really nice and well-maintained garden. Each time any of us goes to visit, we are filled to the brim with any food she can give us, much of it made with fruits and veggies from her garden, and then when we leave we are most likely carrying armloads of homegrown and homemade goodies. Among the bounty my parents returned with this last visit, was an entire sack full of plums from my grandma's plum tree, most of which were ranging in size from ping-pong balls to golf balls.
As their are just the three of us in our house, (Mom, Dad and myself) I needed to find a way to use the plums. At first we considered just breaking them down into plum sauce sort of like an apple sauce, but then I decided I love apricots and peaches with meat, why not make a little home-made Asian Ginger Plum barbecue sauce.
I boiled the plums down, removed pits and peels, then cooked the plum-mash with some spices and seasonings until it smelled and tasted delicious. I kept that in an air-tight container for a few days while I my birthday weekend passed by.

Last night, I worked on a marinate for the pork chops we had decided I'd use the sauce on. I find pork to be a very taste-less and dry meat, especially if you do not use a marinate, and so I'm personally not much a fan, but Mom and Dad enjoy it, so I use it. Now, I'll be honest. If you can't tell, I'm just not the measurements type! I grab and go. The marinate I tossed my pork loin chops into includes: orange juice, soy sauce, canola oil, worchestershire sauce, pomegranate juice, minced dried onion, ginger, chinese five spice, thyme, sage, and 1/4 cup of near-boiling water with a chai-spice tea bag that was allowed to settle in it until it cooled. I mixed all of this together and poured it over my chops. I let it marinate 24 hours and everything smells mildly spiced and yummy.
I grill them for 5-6 minutes on the first side, then 3-5 on the second side. They are definitely done, as these aren't thick chops. The last minute on each side, I cook on a little of the Asian Ginger Plum sauce that I made for them, then pull them off, put a little more on and let them rest covered in foil.


To go with these Asian-style pork chops, I went with a homemade fried rice. In my pot I put: rice, margarine, chicken bouillon, beef bouillon, dried & minced onion in a pot. Stir it around a little, then throw it on medium-high heat. I bring the mix to a boil with lid on, stir, then replace the lid, set to lowest heat setting and walk away for about 18-20 minutes. DO NOT remove the lid! The steam and heat in the pot cooks the rice slow and evenly.
When its done, you have a yummy fluffy but not sticky rice with some flavor already cooked into it thanks to the bouillon and you didn't waste money cooking it in a chicken or beef stock. Same principle, same flavor, less expensive! I do the same when I make Panamanian rice, but I also toss in saffron and achiote then.


In the rice, when I fry it, I'll use around 2Tbsp of canola oil. I stir fry an onion until its just translucent, sprinkle in a little garlic powder with it then toss in my thawed frozen peas and carrots. stir fry them long enough to be warmed through, but never too long. I like them to keep their bite to them.
Once the veggies are to my liking, I pull them off the heat and into a large bowl. I pre-whipped 2 eggs and then I scramble them in the pan that I've returned to the heat (add a drop or two more of oil if necessary) and a drop or two of soy sauce. I make sure the eggs break up into tiny crumbles and toss them in the bowl with the veggies, then add oil to the pan again if necessary. This time, a little bit of sesame oil goes in the mix as well. I throw in a few dashes of Chinese five spice, a sprinkle or two of ground ginger, and then some more soy sauce and let that heat in the oil a few seconds, then BOOM, add the rice and mix to coat. I let the rice sit spread out for a few minutes so it will crisp up just a little, flip it around and do that again, then when the rice is ready, pop it into the bowl with the veggies and eggs, mix to combine and its ready.
I also made eggrolls to go with dinner, but admittedly I cheated with these. I'm fully capable of making homemade eggrolls, but the fact is that for two dollars per package, I can't beat the fresh pre-packed ones from the grocery store. Bake them up in the oven at 400 degrees for about 15 minutes (flipping them once) and they're done.
All in all, everything turned out really good. :)


Sunday, July 15, 2012

Apéritif.

As an introduction, I felt I should just jump in here and say what this blog is about. I am a food lover. A "foodie," if you will. I believe I always have been. The opportunity to watch or help anyone cook was always exciting for me, even from an early age, and at around 3 or 4 years old, I attempted (and actually was doing fairly well) at making my first fried egg. (Everyone freaking out and the lecture I got, along with a serious timeout, after wasn't so great, but I got the pan, turned the stove on, put the butter in it and even cracked the egg!)
As I got older and was given the basics, I started getting really good at cooking, and thanks to cooking shows entrancing me, and then the invention of the Food Network, I learned a lot on my own. The internet became my best friend for exploring plausibility of ideas I had, and then I took a year of a cooking basics class in high school that really gave me a leg up. I longed for the adventure of a culinary arts education, but as a realist, the expensive school didn't seem plausible for the pay most people would make from it as a career.
Now, my life is spent with each day of my personal life going on as it should, but food always being a focal point for me.
I run my own small hobby-business doing baking and candy-making, and I use any excuse to cook that I can.
This blog, therefore, will be my own cooking-adventures diary. :) Welcome, enjoy, and bon appétit!